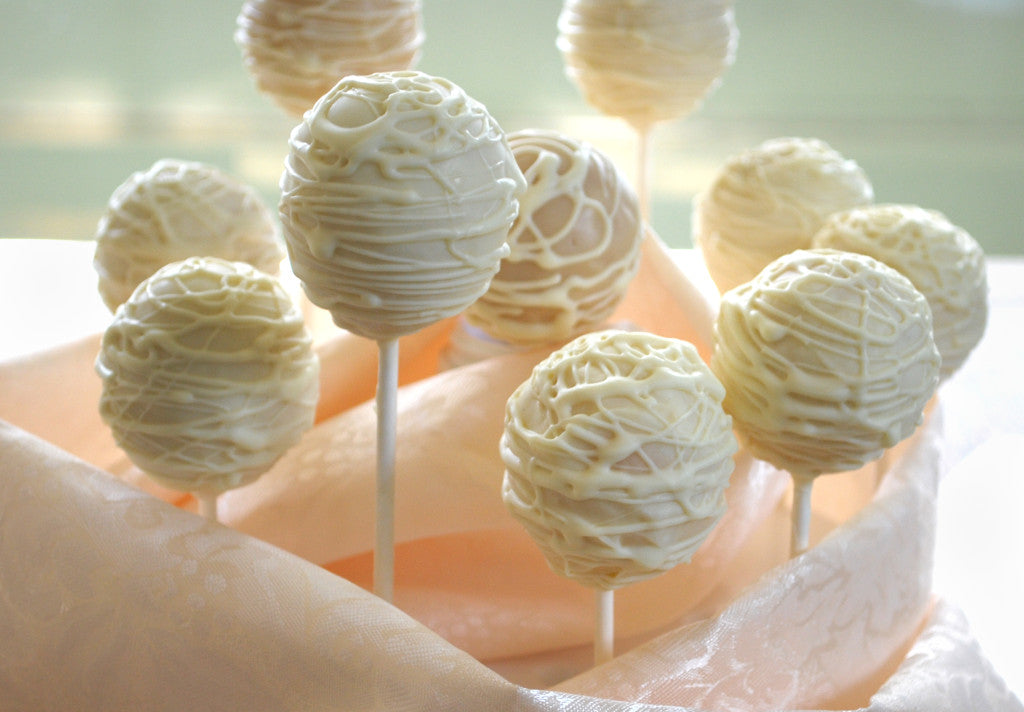
Beautiful and delicious, this is an art project that you can eat!

- 1 bag Pamela's Vanilla Cake Mix
- ½ cup oil
- 4 eggs, large
- ⅔ cup milk or water
- ¼ tsp almond flavoring (optional)
- Cake Pop equipment: Cake Pop Pan (top & bottom: fill the bottom, put on the top on and clamp shut) or Donut Hole Pan (one piece with small ½ circles that you fill & bake). Cake Pop Coating
- 4 to 5 oz. white chocolate bar
- Cake Pop sticks, 6 or 8”
- 1 bag Vanilla Frosting Mix
- 6 TBSP butter
- 5 or 6 TBSP heavy cream
Yield:
Preheat oven to 325°. Place rack in the top third of oven. Beat eggs until thick. Add oil, milk or water, and flavoring and mix well. Add Pamela’s Vanilla Cake Mix and beat on medium for two minutes. Batter thickens slightly and becomes lighter in color. Put batter in a 2-cup measuring cup with pour spout for easy filling. Spray pan well before filling.
Cake Pope Pan:
Pour batter in center of hole to right below inside lower rim of pop pan. Place the top on, making sure the two pans a hooked together, then attach the silicone clamps to the ends of the baking pans to together. Excess dough may come out the top hole.
Donut Hole Pan:
Fill holes ¾ full, if too full they will over flow and have a ridge around the center. (If this happens, once totally cool, take a pair of sharp scissors and cut the ridge off. Cut right up to the sides of the cake, and make a round ball.)
Cake Pops:
Bake approximately 20 minutes. Do not over bake. The batter that pops out the top will be a light golden or use a tooth pick down the hole to see if it comes out clean. Let cake pops cool totally in pan before opening. Once cooled, they are ready to coat.
Donut Holes:
Bake approximately 15 minutes. They are done when toothpick comes out clean and they spring back when gently touched. A little golden color in the bottom or edges is desirable. Cool in pan before coating.
Coating the Cake Pops:
To set sticks in cake pops, melt 1oz. white chocolate in a tiny bowl in microwave. Heat at 10 second intervals until melted (3 or 4 times). Poke a hole in the bottom of the cake pop with the stick. Then dip the end of the stick in the white chocolate and place them in the hole to set up. Let rest with stick pointing upward until chocolate is totally dry and set-up, at least 1 hour. Repeat this process until all cake pops have a stick. They can rest next to each other while drying.
Figure out the holder to hold your cake pops before coating: a cake pop stand, a block or 2 of Styrofoam or floral block foam, or jars filled with rice or beans. You need pops to stand freely without touching while setting up, which will take a few hours.
Ganache Coating:
Melt butter and 5 TBSP cream in a double boiler. Once melted and warm, add frosting mix and stir well until smooth. Keep warm (do not keep on simmering water after mixed together, or sugar will crystallize) and use right away, before it sets up.
Dip in top first, turn sideways, and twist; try to coat the whole pop in one dip. (Do not re-dip. Coating will be too thick and heavy and cake pop will fall off the stick). After it is all covered, there will probably be too much ganache, so keep twisting and turning to help excess ganache flow off the pop. This will take some time; be patient and keep on turning and twisting to create an even coat. Set in stand and repeat. These must now set up until coating is firm.
Decorative Chocolate:
Melt the remainder of the white chocolate in a chocolate pot, double boiler, or microwave. Once melted, put liquid chocolate into a small pastry bag with small plain tip (or plastic bag with corner snipped off to make a drizzling tip). Hold Cake Pop in one hand and the chocolate in the other. While turning Cake Pop, squeeze out chocolate onto pop to create a line design all around the Cake Pop. When done, put back in stand and go to the next Pop, until you have decorated them all.
It’s like an Art Project, have fun with it!
Chef’s Note: Use the best quality white chocolate you can find. Lindt and Ghirardelli make great white chocolate; check for cocoa butter in the ingredients for the real thing.
© Pamela's Products, Inc.


